


Flawless Day-One Setup
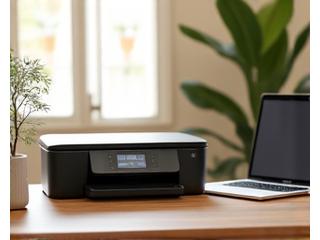
Begin every HP printer setup with a meticulous unboxing. Inspect the packaging for dents, confirm the serial sticker is intact, and photograph the contents before recycling the foam. Place the device on a level surface away from vents or windows; fluctuating temperatures dry out ink and warp plastic trays. Remove every protective tape, including the strips tucked inside the duplexer and behind the scanning bed hinges. Many first-day paper jams come from a missed orange tape.
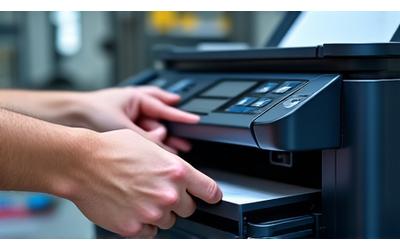
Install cartridges while wearing lint-free gloves to avoid fingerprint oils reaching the copper contacts. On inkjet models, let the carriage rest in the center before snapping each cartridge in place with a push so the electrical pads seat evenly. For LaserJet toner, rock the cartridge gently five times to distribute the toner powder, then align the rails and slide forward until you hear a crisp click. Close every access door slowly; the door sensors calibrate when they complete the final millimeter of travel.
Load only 25 to 50 sheets for the first test. Fan the stack, align it with the paper guide indentations, and check the tray settings on the control panel. Selecting the wrong paper weight causes the fuser temperature to overshoot and leaves roller marks. Run the onboard alignment or calibration routine immediately after the initial test page prints. The routine tunes the carriage motor voltage and image density profile for your specific media. Finally, register the printer on HP Smart within the first 24 hours so firmware, warranty data, and usage analytics synchronize before the first duty cycle begins. Store the shipping clips in a labeled envelope so they are easy to locate during long moves or warranty returns. Note the firmware build number in a maintenance log; this quick reference speeds up support escalations if later updates introduce unexpected behavior.